How to deploy Node.js API on AWS instance

Passionate Software Engineer with 4 years of experience in developing web applications and backend systems using MERN stack. Skilled at writing clear, concise code that is easy to maintain and troubleshoot. Experienced in working with both small and large teams across multiple projects and companies. Able to work independently of remote locations or in office environments as needed by the company.
Step 1: Create an AWS Instance
Log in to your AWS account and navigate to the EC2 dashboard
Click on “Launch Instance” and select the desired instance type
Configure the public IP of instance details and click “Launch”
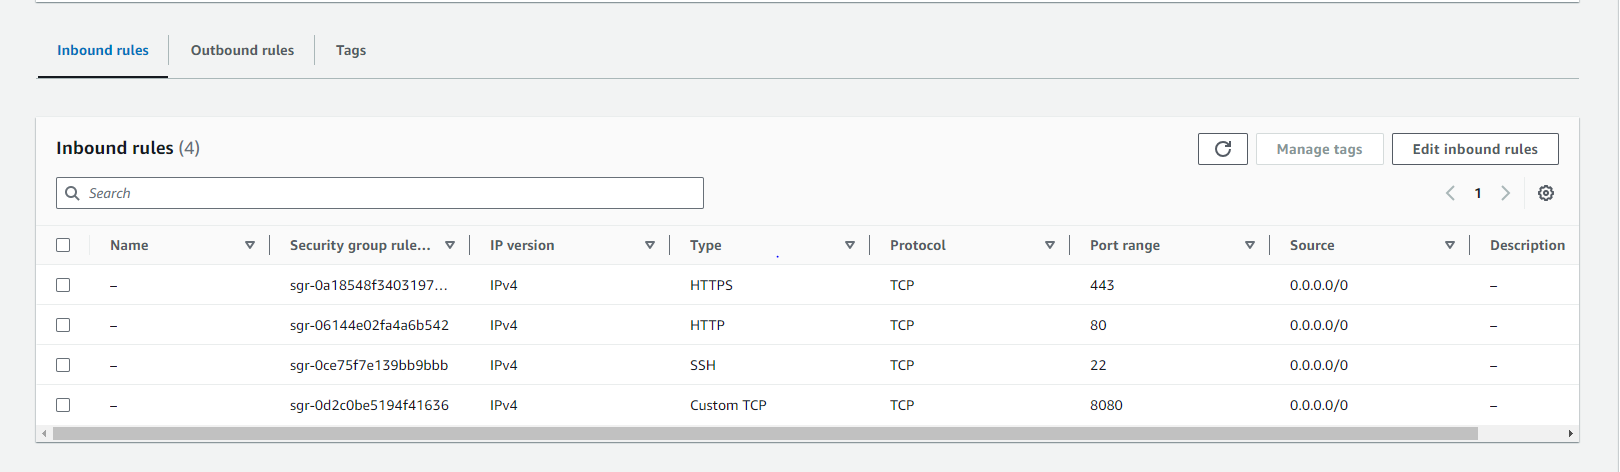
Step 2: Configure Security Group
HTTPS (TCP, port 443)
HTTP (TCP, port 80)
SSH (TCP, port 22)
Custom TCP (TCP, port 8080 or port of your choice)
Step 3: Install Node.js and NPM
Connect to your instance via SSH or logging into AWS account and run the following commands:
  sudo yum install nodejs
  sudo yum install npm
Step 4: Clone Your Node.js API Repository And Configure
Create a directory with a name of your choice.
Clone your Node.js API repository from GitHub.
Navigate to the repository directory and run
npm installto install dependencies.Configure your Node.js API by setting environment variables and other settings as needed.
Step 5: Configure process manager
Install PM2 (Process Manager 2) to manage your Node.js API process:
  sudo npm install pm2 -g
  pm2 start index.js --name name_of_your_choice
  pm2 list processor_name # To list running process
  pm2 restart processor_name # To restart
Step 6: Configure Nginx Server
Install Nginx and configure it to proxy requests to your Node.js API:
sudo yum install nginxNow navigate to /etc/nginx directory to change default nginx configuration inside nginx.config file
  sudo cd /etc/nginx/
  sudo vim nginx.config
Add the following configuration:
  server {
      server_name your_domain;
      location / {
          proxy_pass http://localhost:8080;
          proxy_http_version 1.1;
          proxy_set_header Upgrade $http_upgrade;
          proxy_set_header Connection 'upgrade';
          proxy_set_header Host $host;
          proxy_cache_bypass $http_upgrade;
      }
      listen 443 ssl; # managed by Certbot
      ssl_certificate /etc/letsencrypt/live/your_domain/fullchain.pem; # managed by Certbot
      ssl_certificate_key /etc/letsencrypt/live/your_domain/privkey.pem; # managed by Certbot
      include /etc/letsencrypt/options-ssl-nginx.conf; # managed by Certbot
      ssl_dhparam /etc/letsencrypt/ssl-dhparams.pem; # managed by Certbot
  }
Let’s Add SSL certificate using Let's Encrypt cert bot :
Now navigate to /etc/nginx/sites-available directory to change nginx configuration inside.
Create new file default to add SSL related code.
  sudo cd /etc/nginx/sites-available
  sudo certbot --nginx -d your_domain
  sudo vim default
  // needs to run after adding below code
  sudo certbot install --cert-name your_domain
Add the following code inside default file
  server {
      server_name your_domain;
      gzip            on;
      gzip_types      text/plain application/xml text/css application/javascript;
      gzip_min_length 1000;
      charset utf-8;
      location / {
         proxy_pass http://127.0.0.1:8080;
      }
      location ~ /\.ht {
             deny all;
      }
      location ~ /\.git {
             deny all;
      }
      listen 443 ssl; # managed by Certbot
      ssl_certificate /etc/letsencrypt/live/your_domain/fullchain.pem; # managed by Certbot
      ssl_certificate_key /etc/letsencrypt/live/your_domain/privkey.pem; # managed by Certbot
      include /etc/letsencrypt/options-ssl-nginx.conf; # managed by Certbot
      ssl_dhparam /etc/letsencrypt/ssl-dhparams.pem; # managed by Certbot
  }
Step 7: Re load Nginx Server
 sudo nginx -t
 sudo nginx -s reload
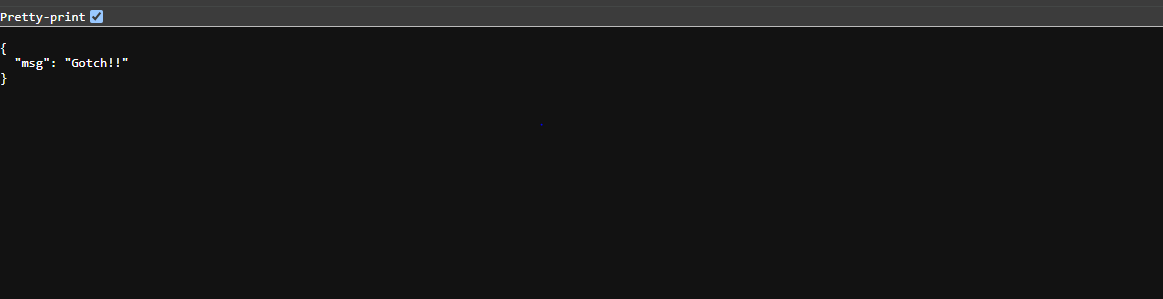
Step 8: Test Your Node.js API
- Test your Node.js API by accessing it via the domain
Additional Tips
Make sure to secure your AWS instance with security groups and IAM roles
Ensure that your domain's DNS settings are configured to point to the public IP address of your AWS instance, allowing you to access your application via your domain name.
Use a load balancer to distribute traffic to multiple instances
Conclusion:
That's it! Your Node.js API should now be deployed on your AWS instance.Please feel free to reach out if you have any questions, require further assistance, or would like to suggest any corrections. I'm here to help and appreciate your feedback!


